Digital Resources
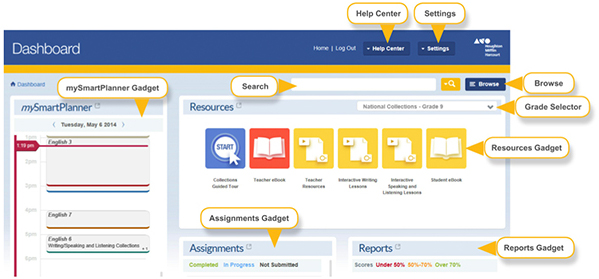
Getting Started Navigating the Collections Dashboard
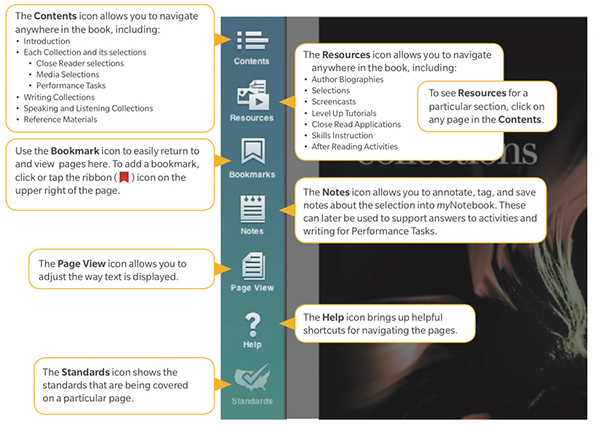
Guide to the eBook Navigation Icons for Student and Teacher eBooks
Below is a quick reference guide to the eBook navigation icons you will use in both the Student and Teacher eBooks.
Go Further with Key Features in the Student eBook
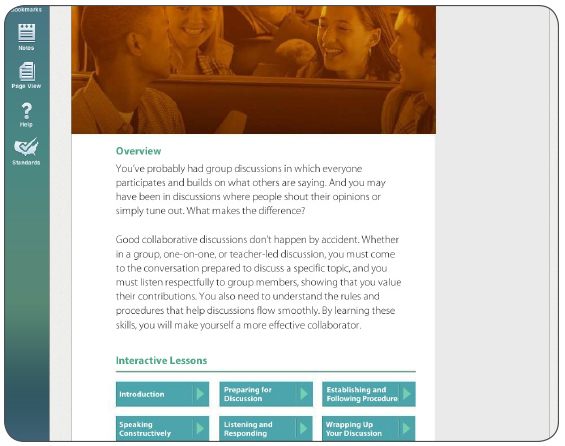
Writing Collections
- Under Contents, select Writing Collections.
- Choose Producing and Publishing with Technology.
- Scroll down to Interactive Lessons and Select Interacting with Your Online Audience.
- Advance the page by using the right arrow.
- Complete the drag-and-drop activity.
- Check answers by selecting the green checkbox in the lower right corner.
- In the bottom right hand corner select one of the Bubbles 2–6 to explore on your own.
- Close the current browser tab/window.
Using the Navigation Icons and Features in Student and Teacher eBooks
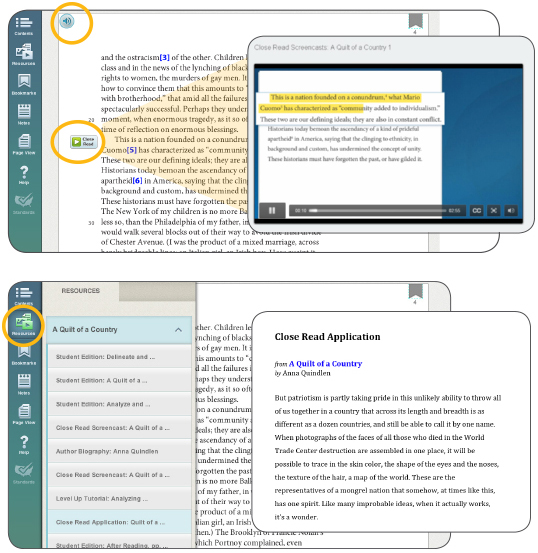
Helpful Features
- Audio icons appear on every page and allow the text to be read aloud.
- Close Read icons open a new window and play the Close Read screencast.
- Close Read Applications offer additional reading opportunities available for practice.
- To access, choose a selection and select the Resources icon in the navigation bar.
A Guide to Using Annotation Tools and myNotebook in Student and Teacher eBooks
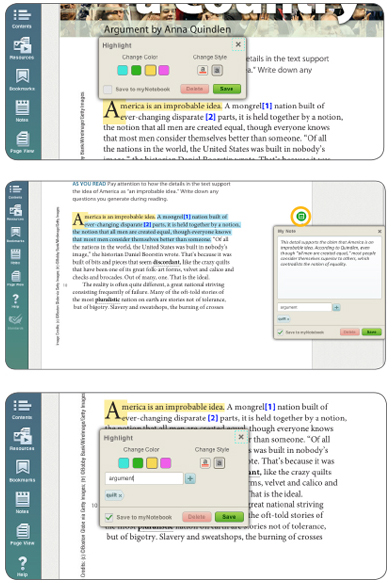
Explore
Using Annotation Tools
To highlight:
- Drag your cursor to select the relevant text.
- Choose the highlighter icon that appears.
- Choose a color to highlight or underline the passage.
- Select Save (see below to save to myNotebook).
To make a Note:
- Drag to select the relevant text.
- Choose the note icon that appears.
- Type your note into the white box.
- Select Save (see below to save to myNotebook).
- After making a note, notice the note icon appears in the margin of the eBook.
Using Tags and Saving to myNotebook
- myNotebook tags allow you to identify and easily retrieve your comments.
- Select the Save to myNotebook checkbox.
- Type tag name into the white Tag box.
- To enter more tags, use the + sign.
- Select Save.